
If you’re passionate about technology and eager to take your networking or virtualization skills to the next level, a home lab is one of the most rewarding ways to learn. In this guide, I’ll walk you through the core aspects of creating and optimizing your own lab environment. You’ll discover why memory capacity matters more than CPU speeds, how to choose the right hardware, and how to manage Docker applications efficiently.
I’m excited to share all the tips I wish I knew when I started. This article explores everything from choosing modern mini PCs to advanced backup strategies for protecting your setups. Whether you’re an IT professional, developer, or hobbyist, you’ll find practical steps to help you build a reliable home lab. Let’s dive in!
Understanding the Home Lab Concept
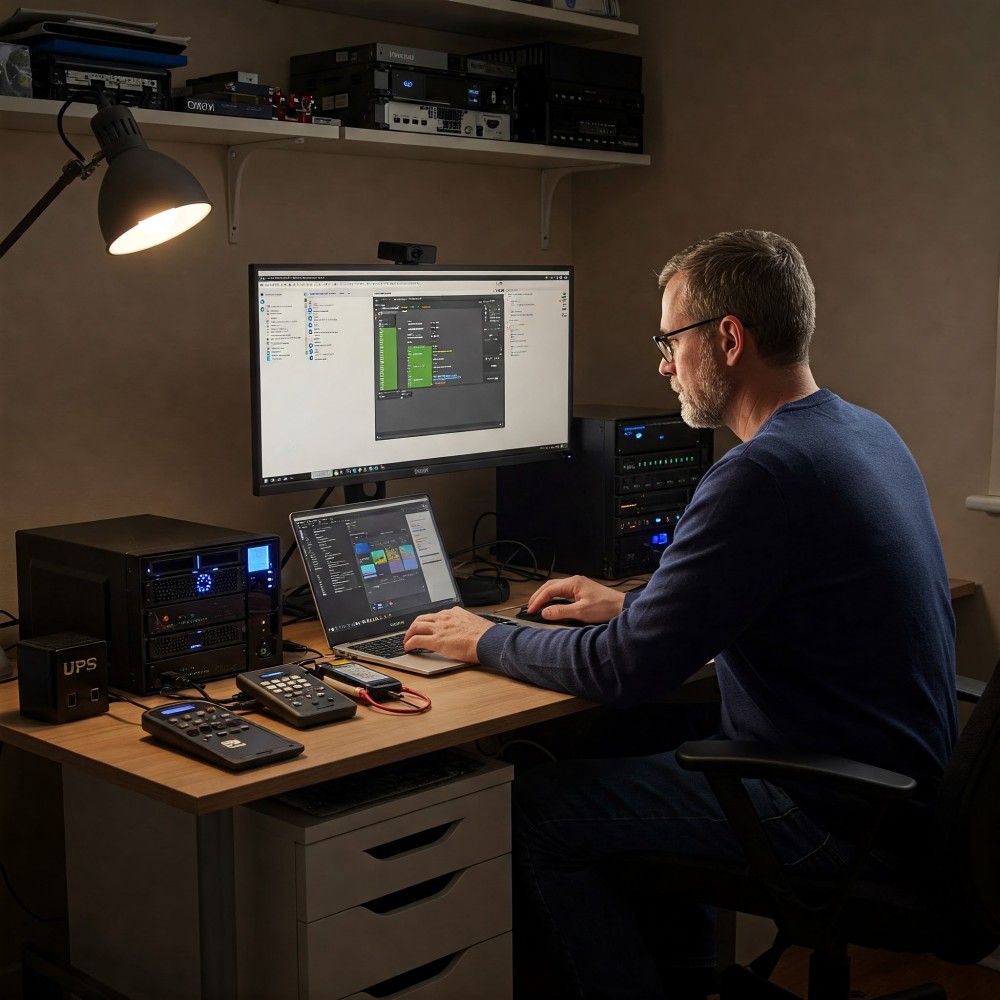
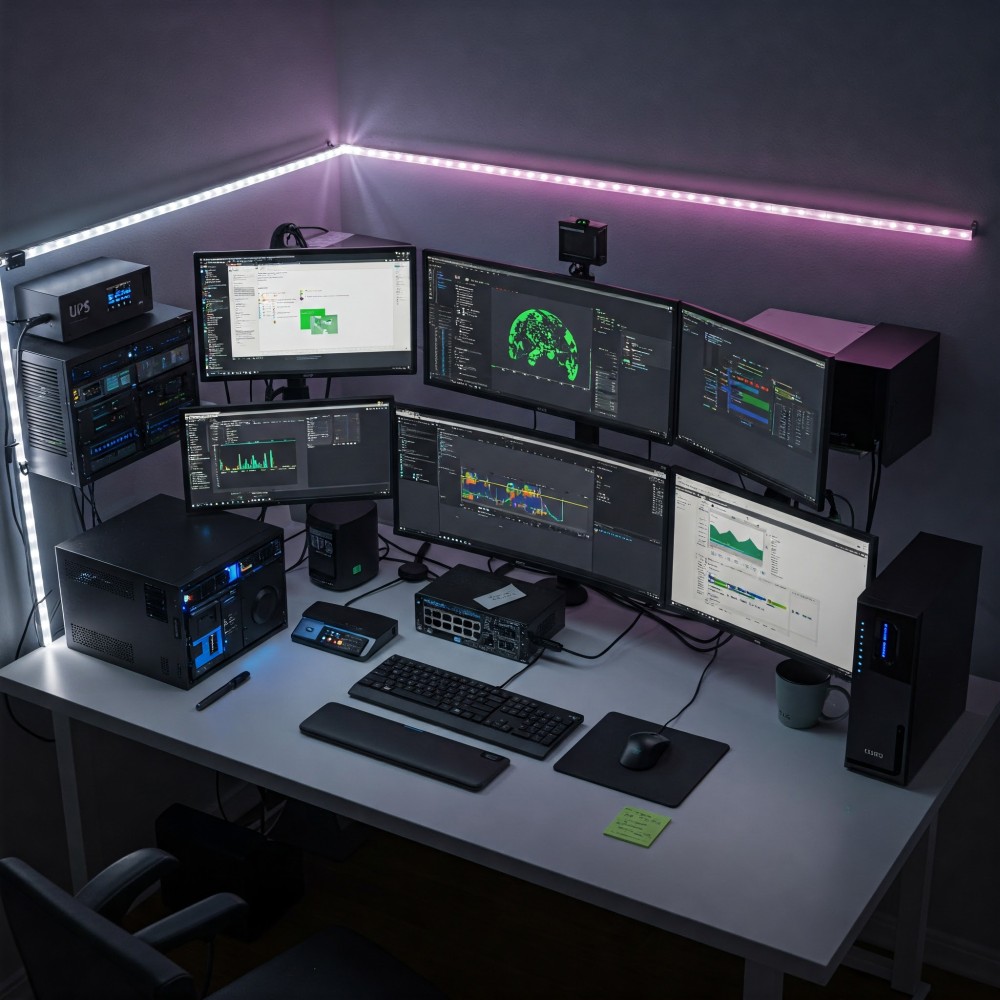
A home lab is like your personal tech sandbox. It’s a dedicated environment where you can safely experiment with software, virtualization platforms, and networking tools without worrying about damaging critical systems. Many people, myself included, started with minimal hardware and gradually built a setup that resembles a miniature data center at home.
There’s no single formula for a perfect home lab. Some users only spin up a few virtual machines (VMs) on an older computer, while others assemble multiple mini PCs with separate NAS devices. The greatest advantage lies in how flexible you can be. You can test new software builds, practice for certification exams, or explore container orchestration without the risk of messing up live production environments.
Why Home Labs Are Game-Changers
Whether you’re studying for IT certifications, exploring self-hosted services, or enjoying the thrill of tinkering, a home lab is invaluable. You gain practical, hands-on experience that’s difficult to replicate through theoretical study alone. The ability to experiment with advanced tools—like Docker, Kubernetes, or VLANs—translates into a deeper, real-world understanding of IT infrastructure.
It’s also a fun way to keep your skills sharp and up to date. In technology, everything evolves rapidly. A home lab allows you to play with the latest solutions, from next-generation mini PCs with 10-gig networking to new NAS technologies that combine NVMe caching with spinning disks. You’re always at the forefront of what’s possible.
Choosing the Right Hardware
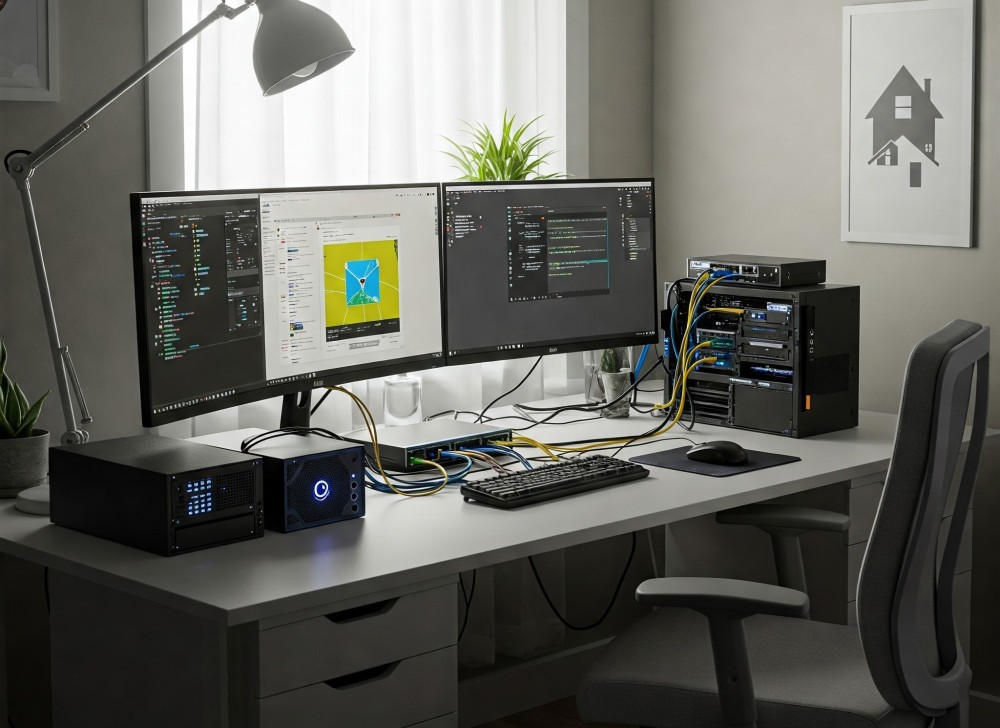
Selecting hardware for your home lab significantly impacts its efficiency and future expandability. Not too long ago, many enthusiasts leaned on power-hungry enterprise servers to build their labs. But nowadays, modern mini PCs can rival traditional servers for many use cases, offering robust CPU, memory, and network options in a surprisingly small footprint.
When I first encountered mini PCs, I wasn’t convinced they could handle my virtualization needs. But times have changed. Today’s mini PCs can pack up to 96 GB of memory or more, integrate multi-core processors, and even support 10 gig networking. This efficiency helps you save on electrical costs and reduce heat output—which you’ll appreciate during warm summer months. As an added bonus, your setup is much quieter than a rack server roaring in a spare room.
The Advantages of Mini PCs
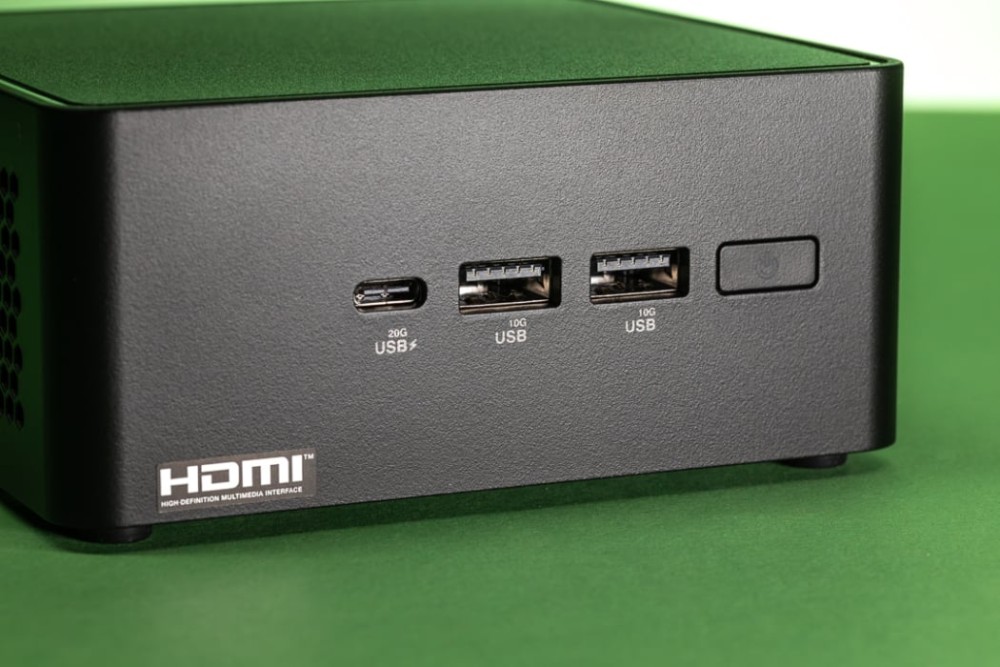
For a long time, the popular choice for a home lab was a used server from eBay. While that remains an option, mini PCs often win out due to lower noise levels and reduced power consumption. Many new models even come with embedded Intel networking ports, which helps ensure broad compatibility across hypervisors like VMware ESXi, Proxmox, and XCP-ng. Plus, some mini PCs now support up to 128 GB of memory as newer SODIMM modules hit the market.
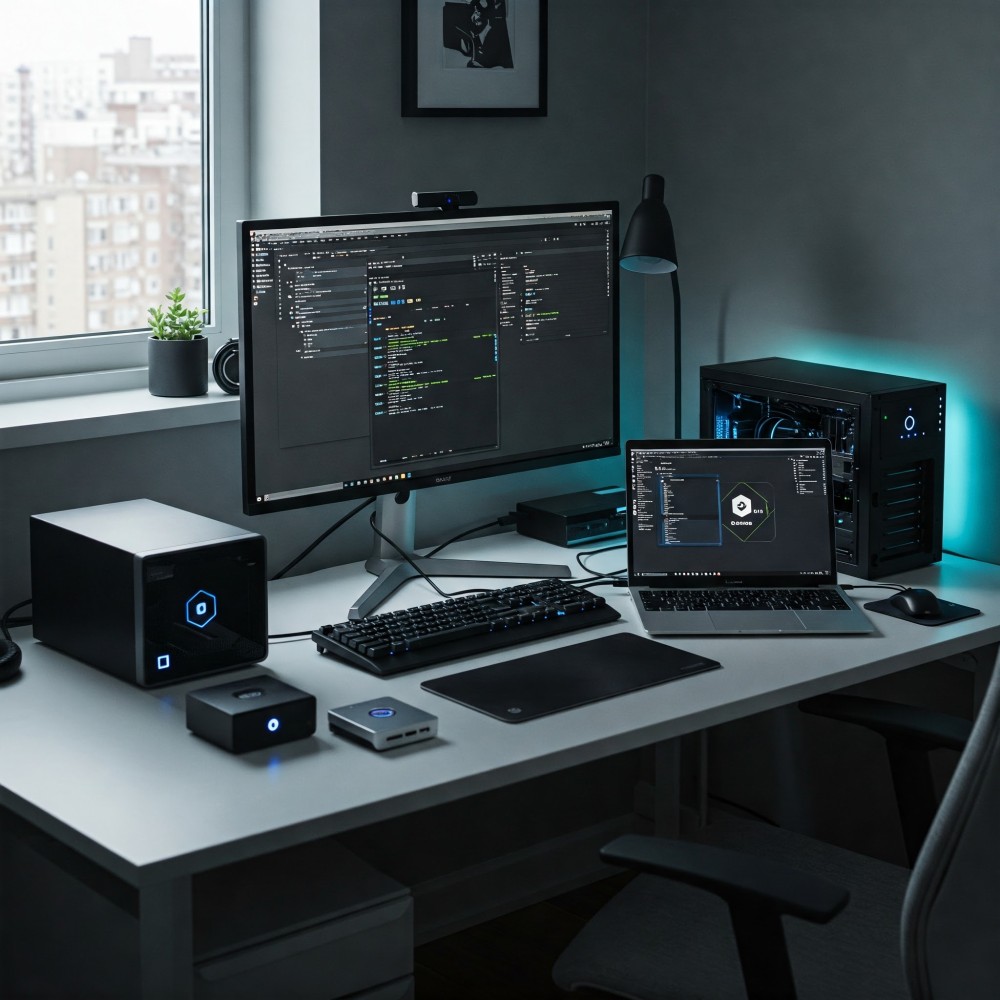
If you’re space-constrained or prefer an unobtrusive setup, mini PCs are the way to go. You can fit multiple machines on a small shelf or desk and still maintain a robust virtualization cluster. Combine one or two of these devices with a decent managed switch, and you have a strong core for a multi-node lab environment.
Prioritizing RAM Over CPU
For virtualization, memory usually becomes the first bottleneck. Running multiple virtual machines or containers consumes a lot of RAM, regardless of whether you’re on Proxmox, VMware ESXi, Hyper-V, or XCP-ng. That’s why I advise you to spend a bit more on memory rather than the highest-clocked CPU you can find.
Sure, CPU matters, but many lab environments aren’t CPU-bound; they’re limited by available memory. Especially if you’re running Docker containers or a cluster of smaller VMs, you’ll notice performance issues if you’re starved for RAM. Some hypervisors, like VMware ESXi, offer memory tiering features that let you use NVMe as a secondary memory layer, but that still doesn’t replace having ample RAM in your system.
Network Adapter Considerations
Always confirm that the built-in network adapter on your chosen hardware is compatible with your favorite hypervisor. Realtek NICs work well with many platforms (e.g., Proxmox, XCP-ng) but can pose hurdles with VMware ESXi unless you tweak or patch drivers. On the other hand, Intel adapters offer wide-ranging compatibility out of the box.
While you might be tempted to use USB network adapters for convenience, I’ve seen them introduce quirks or stability issues over the long term. For a reliable, 24/7 environment, it’s best to rely on onboard Ethernet ports.
Network Essentials and VLAN Management
Your home lab’s networking setup is often as important as the virtualization layer itself. A solid switch can help segment traffic with VLANs, enabling you to keep distinct environments for services, IoT devices, and general home traffic. VLANs are indispensable once your lab starts to grow; they let you isolate services for better security and easier troubleshooting.
If you’re aiming for higher bandwidth, look for budget-friendly switches with 2.5 gigabit or 10 gigabit ports. Brands like MikroTik have compelling options that won’t break the bank. Just check whether a switch is managed or unmanaged. A managed switch will let you configure VLANs and advanced settings, while unmanaged switches lack those capabilities.
Storage Solutions for Your Home Lab
Storage underpins all the workloads you’ll run, so don’t underestimate the impact of drive speed, capacity, and redundancy. If you intend to run numerous virtual machines or store large media files, plan your storage strategy carefully. From a quick local NVMe disk to a more advanced NAS solution, you can tailor setups to match your performance and scalability requirements.
Local NVMe and Hybrid NAS Approaches
A straightforward approach is using local NVMe for primary virtualization storage. NVMe drives are not only fast, but their prices have become more affordable. They offer excellent IOPS for VM workloads, meaning your VMs boot quickly and respond well under load.
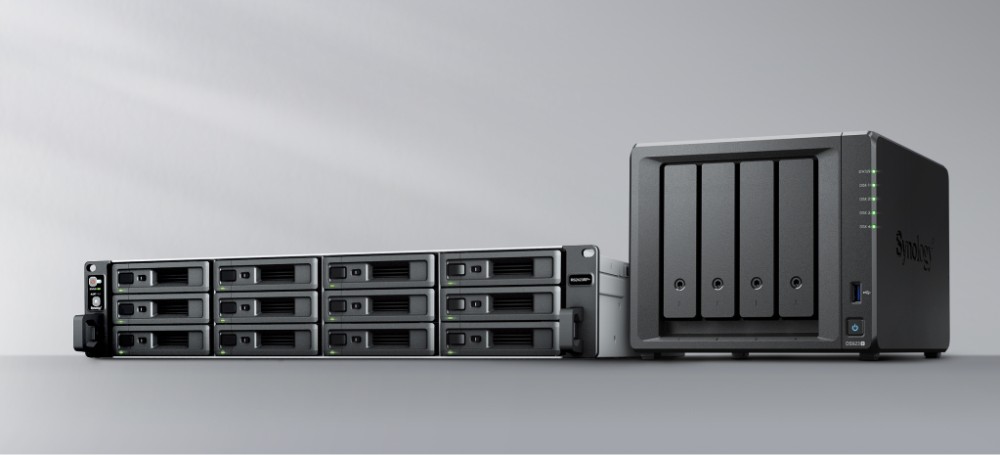
Alternatively, if you want a centralized repository for media or backups, a NAS (Network-Attached Storage) might be beneficial. Some newer NAS devices allow both spinning hard disks for capacity and NVMe drives for caching. This hybrid design offers a best-of-both-worlds scenario, balancing bulk storage with high-speed caching for frequently accessed data.
Software-Defined Storage
Projects like Ceph or GlusterFS enable software-defined storage (SDS) across multiple nodes, distributing data for redundancy and failover. While setting up Ceph can be more involved, the payoff is a robust, self-healing storage layer. This approach is popular if you want to run a small cluster of machines acting as both hypervisors and storage providers, thus eliminating the need for a separate SAN device.
However, for beginners, SDS might be overkill. Don’t hesitate to start with simpler local storage or a single NAS solution—then explore Ceph or GlusterFS as your lab grows and you feel comfortable tackling more advanced topics.
Virtualization Platforms: Proxmox, VMware, and Beyond
When I began experimenting with virtual machines, I used VirtualBox on an old laptop. This simple setup taught me the basics—how to allocate CPU and memory, install different operating systems, and create snapshots. Over time, I transitioned to more advanced hypervisors like Proxmox and VMware ESXi. Here’s a quick look at some options:
- VirtualBox: Easy to set up, especially on desktop operating systems. Perfect for beginners or quick tests.
- Proxmox: An open-source Debian-based hypervisor that excels at both VM and container management. Free licensing and a supportive community make it very popular.
- VMware ESXi: The de facto enterprise virtualization standard, but licensing can be more complex. Known for rock-solid performance and extensive features.
- Hyper-V: A Windows-based option suitable if you’re deeply embedded in the Microsoft ecosystem.
- XCP-ng: An open-source variant of Citrix Hypervisor (formerly XenServer). Like Proxmox, it has strong community support and zero-cost licensing.
Proxmox: A Quick Overview
Proxmox is a great all-in-one solution. It runs on top of Debian and has an intuitive web UI. Creating or cloning VMs takes just a few clicks, and built-in container support (LXC) can be a nice alternative to running Docker directly on the host. You can also form clusters if you have multiple Proxmox nodes, enabling live migration of VMs between them.
Because Proxmox is free to use, you don’t have to juggle licensing fees or worry about feature restrictions. You can also integrate with Ceph for a software-defined storage cluster or use a local ZFS storage array for enhanced data integrity. It’s a fantastic platform if you want to keep everything in a single management console.
VMware ESXi: Considerations and Licensing
VMware ESXi remains a powerhouse. Many enterprise data centers rely on it, making it a good practice ground if you’re aiming for a VMware-oriented career path. However, VMware’s licensing model for home labs has changed over time. VMware often requires a subscription or membership in certain programs (e.g., VMUG) to legally access advanced features without limitations.
Also, you may find hardware compatibility challenges if your mini PC has Realtek NICs. Patching ESXi to support those adapters is possible, but it’s an extra step. If ESXi’s advanced features appeal to you, just research the hardware compatibility and licensing paths up front so you’re fully informed.
Linux Mastery for Home Labs
Linux is a mainstay across modern IT environments. Even if you prefer Windows or macOS for daily tasks, understanding Linux gives you a massive advantage in setting up and troubleshooting servers, containers, or networking components. Distributions like Ubuntu or Debian are often recommended starting points because of their large community support.
Getting comfortable with the terminal might seem intimidating at first. Yet once you learn common commands, you’ll see how powerful Linux can be. You’ll manage your entire home lab infrastructure—creating directories, editing configuration files, or starting/stopping services—with far more precision than relying only on graphical interfaces.
Docker & Portainer for Efficient Application Management
Docker has transformed how applications are packaged and deployed by letting you run them in isolated containers. It’s much lighter than spinning up a full VM for each service. If you’re not fond of memorizing Docker’s command-line options, Portainer provides a user-friendly interface for container management.
My typical workflow with new hardware involves installing an OS (often Debian or Ubuntu), adding Docker, and then deploying Portainer. With Portainer’s dashboard, I can pull images from a registry (like Docker Hub or my private repository), set environment variables, map volumes for persistent data, and expose ports. This eliminates guesswork and helps me stay organized.
Installing Docker on Linux
Here’s a concise way to install Docker on Ubuntu or Debian. Adapt it with your actual user details as needed:
sudo apt-get update
sudo apt-get install -y docker.io
sudo usermod -aG docker <your-user>
sudo systemctl enable docker
sudo systemctl start docker
After installing, verify Docker is running by checking the Docker version:
docker --version
Adding Portainer
With Docker installed, let’s set up Portainer for visual container management. The following commands pull the Portainer Community Edition (CE) image and launch it:
docker volume create portainer_data
docker run -d -p 9000:9000 --name=portainer \
	--restart=always \
	-v /var/run/docker.sock:/var/run/docker.sock \
	-v portainer_data:/data \
	portainer/portainer-ce
Once running, open http://<your-server-ip>:9000 in a web browser, create your admin credentials, and you’ll have a slick interface to handle all your containers without messy CLI commands.
Networking Fundamentals & Firewall Tools
Beyond virtualization, well-planned networking is vital for a home lab. If you’re just starting, you can use your ISP’s router or a typical consumer router. However, as you progress, you might find a custom-built firewall using pfSense or OpenSense more flexible. These open-source firewall solutions run on modest hardware (like an Intel NUC) and provide enterprise-grade features—VLAN management, traffic shaping, VPN setup, and intrusion detection systems, for example.
Switches also deserve careful selection. If you plan to create multiple VLANs to segment your environment—like a separate VLAN for Docker workloads, one for your “production” apps, and another for IoT devices—you’ll need a managed switch. While an unmanaged switch is cheaper, it lacks the advanced configuration you’ll likely want once your home lab starts growing in complexity.
Cloud Computing as an Alternative
If space or budget is a concern, cloud services can replicate many aspects of a home lab. You can spin up virtual machines in AWS, Azure, or Google Cloud—often leveraging free or low-cost tiers. This allows you to practice building networks, deploying containers, or working with serverless functions. However, keep in mind that free tiers have resource limits, and overage costs can add up if you’re not careful.
For DevOps-minded folks, cloud labs are excellent for experimenting with Terraform, Ansible, or Kubernetes clusters in a remote setting. Yet, a local lab has the distinct advantage of letting you tinker with the physical layer—installing expansion cards, connecting cables, or configuring a real UPS setup for power continuity. It’s a matter of preference and goals. Many people end up using a hybrid approach, mixing local hardware with cloud solutions for the best of both worlds.
Backing Up Your Home Lab
Even if you consider your lab “non-production,” losing data or carefully crafted configurations can be disheartening. That’s why setting up backups from day one is key. You have plenty of options:
- Proxmox Backup Server: A free, open-source solution that integrates seamlessly with Proxmox Virtual Environment. Scheduled backups are straightforward to set up and restore.
- Veeam: Provides robust backup solutions for VMs, though licensing can vary. NFR (Not for Resale) licenses might be available for non-commercial use.
- Nikivo: Another alternative for VM backups with features like replication and deduplication.
- Duplicati: Ideal for Docker container data or file-based backups.
If you store your VMs on a NAS, you can implement snapshots, replication, or use the NAS vendor’s built-in backup tools. For instance, if you have a Synology, the Active Backup suite can back up VMware or Hyper-V infrastructures at no extra cost. For Kubernetes setups, open-source projects like Kasten K10 (free for home labs) can handle container-level backups with minimal fuss.
Hardware Protection: The Role of a UPS

A UPS (Uninterruptible Power Supply) is crucial if your environment is prone to power fluctuations. Sudden outages risk corrupting data on local drives or damaging sensitive electronics. A small UPS—around 1500 VA—can often keep multiple mini PCs and a switch running for several minutes. That’s usually enough time for you to perform a graceful shutdown.
More advanced UPS units feature network monitoring capabilities. You can configure them so that if power is out for a set time, your systems will automatically shut down. This might sound excessive for home use, but if you’ve spent hours configuring a Docker swarm or a multi-VM environment, you’ll be relieved when everything shuts down properly instead of crashing mid-process.
Starting Small with Open Source
Some folks assume you need a big budget to start a home lab. Not true! You can begin with spare hardware—an old laptop or desktop—and free tools. Platforms like Proxmox and XCP-ng don’t require any licensing fees, while Docker and Kubernetes are also free and open source. Explore, break things, and fix them again. That’s how you build genuine expertise.
If you decide to step up, you can add components incrementally: a dedicated server, a managed switch for VLAN experimentation, or a standalone NAS. There’s no rush to build the ultimate setup on day one. It’s all about the learning journey.
Documentation: Your Secret Weapon
In my early days, I neglected documentation. Then, I inevitably forgot how I’d configured certain VMs or overcame specific networking hurdles. Lesson learned! Good documentation is like a time machine that takes you back to the moment you fixed an issue, preventing you from having to re-discover the solution.
Tools like Notion, Obsidian, Google Docs, or even a simple spreadsheet can work wonders. For advanced setups, Dockerized apps like PHPIPAM track IP addresses and VLAN configurations, ensuring you don’t mix up addresses or inadvertently break your network. This is especially helpful once you have several VLANs, multiple Docker networks, and various subnets to manage.
Continuous Learning and Community Engagement
A home lab is a never-ending learning playground. After a few months of running VMs, you might explore advanced topics like configuring High Availability (HA) clusters, automating deployments with Ansible, or implementing Infrastructure as Code using tools like Terraform. The possibilities are endless.
Online forums and communities are invaluable. Subreddits such as r/homelab or r/Proxmox feature daily posts about new hardware deals, interesting project ideas, or solutions to quirky config issues. Engaging in these communities transforms solitary tinkering into collective discovery—someone might have already solved the exact problem you’re facing!
Consider enrolling in affordable courses on Udemy or Coursera to deepen specific skills (e.g., Docker orchestration, advanced Linux administration, or networking basics). The synergy between structured courses and hands-on home lab practice accelerates your learning curve.
Practical Tips: Bring It All Together
We’ve covered hardware selection, virtualization platforms, networking essentials, backup solutions, and documentation. Below is a quick-reference plan to unify everything into a cohesive lab:
- Begin with Basic Hardware: Use an old PC or a modest mini PC. Install a free hypervisor like Proxmox. Don’t obsess about top-tier CPU specs; focus on adequate RAM.
- Learn Linux Fundamentals: Practice commands, file permissions, and package management. Linux proficiency will streamline every other aspect of your home lab.
- Deploy Virtual Machines & Containers: Spin up a few VMs to grasp resource allocation, snapshots, and network bridging. For smaller services, use Docker containers to save on overhead.
- Set Up VLANs & Firewall: If you have a managed switch, experiment with VLAN segmentation. Consider installing pfSense on a mini PC to manage network routing, NAT, and security rules in a robust way.
- Implement Storage Strategy: Decide on local NVMe for speed, a NAS for shared data, or a blend of both. Monitor resource usage as you expand your VM or container footprint.
- Always Have a Backup Plan: Don’t wait until after a catastrophic failure. Configure backups in Veeam, Proxmox Backup Server, or another solution. Test restores to ensure they work.
- Document Meticulously: Record IP addresses, VLAN IDs, OS versions, and steps you took to fix problems. Clear notes prevent “reinventing the wheel” every time something breaks or needs an upgrade.
- Engage in Continuous Learning: Explore advanced topics or new software regularly. Join online communities, watch tutorials, or enroll in courses to deepen your expertise.
- Scale at Your Pace: Don’t rush to build an enterprise-level data center overnight. Add hardware, new services, or advanced configurations step by step to avoid being overwhelmed.
Conclusion
Building a home lab is a journey, not just a one-time task. Each stage—from selecting hardware to configuring Docker containers—deepens your understanding of IT infrastructure. The freedom to experiment encourages creativity and fosters a far-reaching grasp of networking, virtualization, and system administration concepts.
I encourage you to start small, experiment fearlessly, and expand your home lab at a comfortable pace. Engage with communities, keep thorough documentation, and take advantage of both free and commercial tools that align with your learning goals. As your skills grow, your home lab becomes a reflection of your evolving tech journey—capable of running complex workloads, storing important data, and teaching you new lessons with every project.
