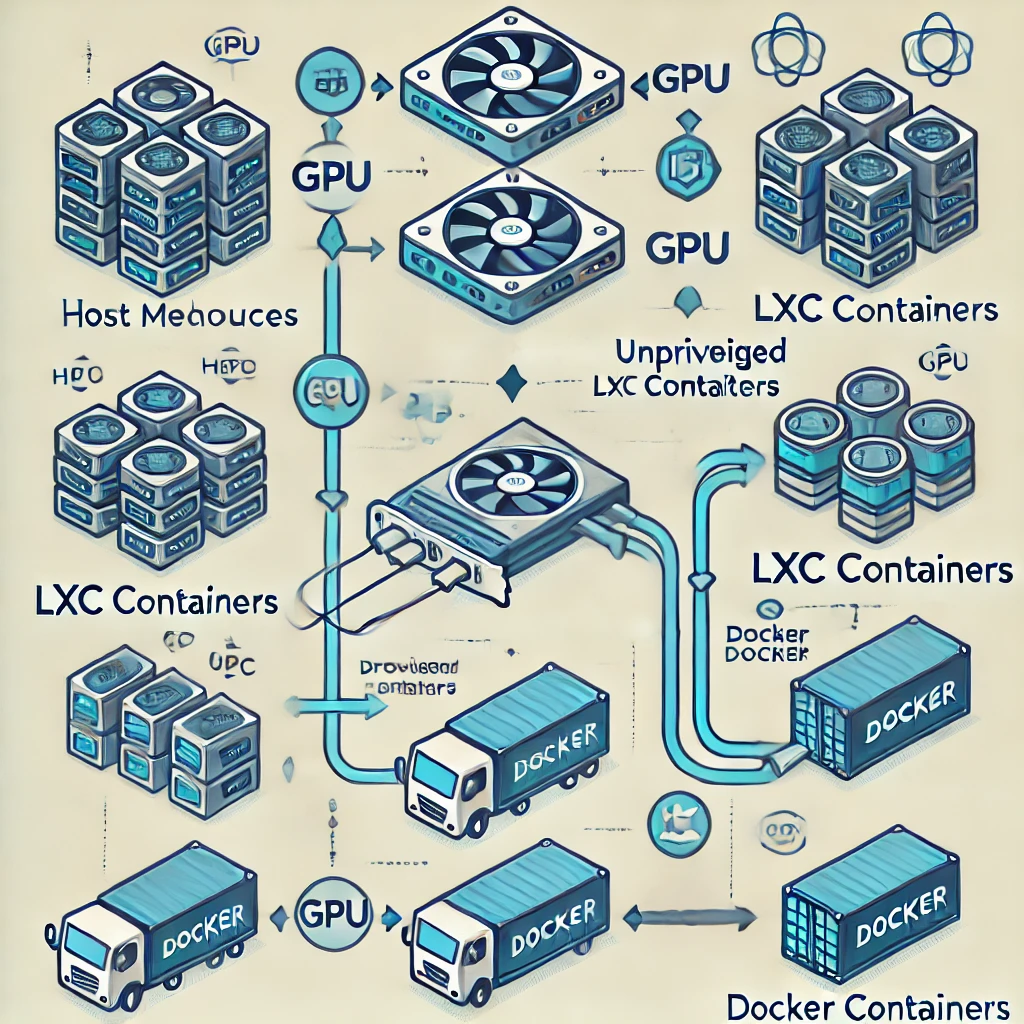
Hey there! If you’ve ever wanted to tap into the power of your Nvidia GPU within unprivileged LXC containers and Docker, you’re in the right place. I recently went through this process myself, and I’d love to share how you can set it up too. Let’s dive into how to configure Nvidia GPU passthrough for unprivileged LXC containers and Docker.
Why Set Up Nvidia GPU Passthrough in Unprivileged LXC Containers?
Utilizing Nvidia GPU passthrough in unprivileged LXC containers allows you to run GPU-accelerated applications securely and efficiently. Whether you’re into machine learning, data processing, or high-performance computing, this setup can significantly boost your containerized workloads.
Prerequisites
Before we begin, make sure you have the following:
- An Nvidia GPU installed on your host machine.
- Unprivileged LXC containers set up.
- Docker installed both on the host and inside the LXC container.
- Basic knowledge of Linux command-line operations.
Step 1: Checking Current GPU Devices
First things first, let’s verify that your host machine recognizes the Nvidia GPU devices. Open your terminal and run:
sudo ls -al /dev/nvidia*You should see output similar to:
# Sample Output
# crw-rw-rw- 1 root root 195,   0 Sep  6 21:23 /dev/nvidia0
# crw-rw-rw- 1 root root 195, 255 Sep  6 21:23 /dev/nvidiactl
# crw-rw-rw- 1 root root 508,   0 Sep  6 21:23 /dev/nvidia-uvm
# crw-rw-rw- 1 root root 508,   1 Sep  6 21:23 /dev/nvidia-uvm-tools
This confirms that your Nvidia GPU devices are correctly recognized by the host system.
Step 2: Configuring the Unprivileged LXC Container for Nvidia GPU
Now, we’ll configure the unprivileged LXC container to allow GPU passthrough. Edit the container’s configuration file, usually located at /var/lib/lxc/<your-container-name>/config, and add the following lines:
lxc.cgroup2.devices.allow: c 195:* rwm
lxc.cgroup2.devices.allow: c 508:* rwm
lxc.mount.entry: /dev/nvidia0 dev/nvidia0 none bind,optional,create=file
lxc.mount.entry: /dev/nvidiactl dev/nvidiactl none bind,optional,create=file
lxc.mount.entry: /dev/nvidia-uvm dev/nvidia-uvm none bind,optional,create=file
lxc.mount.entry: /dev/nvidia-uvm-tools dev/nvidia-uvm-tools none bind,optional,create=file<your-container-name> with the actual name of your container.These settings allow the container to access the Nvidia devices on the host while maintaining unprivileged security constraints.
Step 3: Installing Nvidia Driver in the Unprivileged LXC Container
Next, we’ll install the Nvidia driver inside the unprivileged LXC container. Here’s how I did it:
# Install GnuPG
apt install gnupg -y

# Create keyring directory
mkdir -p /etc/apt/keyrings

# Add Nvidia repository key
curl -fsSL https://developer.download.nvidia.com/compute/cuda/repos/debian12/x86_64/3bf863cc.pub | gpg --dearmor -o /etc/apt/keyrings/nvidia-archive-keyring.gpg

# Add Nvidia repository
echo "deb [signed-by=/etc/apt/keyrings/nvidia-archive-keyring.gpg] https://developer.download.nvidia.com/compute/cuda/repos/debian12/x86_64/ /" | tee /etc/apt/sources.list.d/nvidia-cuda-debian12.list

# Update package lists
apt update

# Install Nvidia driver
apt install nvidia-driverStep 4: Uninstalling Nvidia Kernel Modules
To prevent conflicts, we need to remove the Nvidia kernel modules that are not required inside the container:
# Remove Nvidia kernel modules
apt remove --purge nvidia-kernel-dkms nvidia-kernel-source
Step 5: Blacklisting Nvidia Kernel Modules
Next, we’ll blacklist the Nvidia kernel modules to prevent them from loading inside the container:
nano /etc/modprobe.d/blacklist-nvidia.confAdd the following lines to the file:
blacklist nvidia
blacklist nvidia_uvm
blacklist nvidia_modeset
blacklist nvidia_drmStep 6: Verifying Nvidia Driver Installation
After rebooting the container, check if the Nvidia driver is working inside your unprivileged LXC container:
# Check Nvidia driver
nvidia-smi
You should see a table displaying your GPU details, confirming that the driver is working correctly.
Step 7: Configuring Docker for GPU Usage Inside the Unprivileged LXC Container
To utilize the GPU within Docker inside the unprivileged LXC container, install the Nvidia container toolkit:
# Install Nvidia container toolkit
apt install nvidia-container-toolkit
Edit the Docker daemon configuration file:
nano /etc/docker/daemon.jsonAdd the following content:
{
  "default-runtime": "nvidia",
  "runtimes": {
  "nvidia": {
    "path": "nvidia-container-runtime",
    "runtimeArgs": []
  }
  }
}
Restart the Docker service to apply the changes:
systemctl restart dockerThen, edit the Nvidia container runtime configuration:
nano /etc/nvidia-container-runtime/config.tomlSet no-cgroups = true in the configuration file:
# Set no-cgroups to true
no-cgroups = trueno-cgroups = true is essential for running Docker with GPU support inside an unprivileged LXC container.Step 8: Running a Test Docker Container
Now, let’s run a test Docker container to verify that everything is working as expected:
# Run a test Docker container to verify GPU usage
docker run --gpus all nvidia/cuda:12.6.1-base-ubuntu24.04 nvidia-smi
If everything is set up correctly, you’ll see the GPU details inside the Docker container running within your unprivileged LXC container.
Troubleshooting Common Issues

Permission Denied Errors
If you encounter permission denied errors, ensure that the device files have the correct permissions and that the container’s configuration allows access to the GPU devices.
Driver Version Mismatch
Ensure that the Nvidia driver versions on the host and inside the container are compatible. Mismatched versions can lead to unexpected errors.
Docker Runtime Errors
If Docker complains about the runtime, double-check the daemon.json and ensure that the Nvidia runtime is correctly configured.
Best Practices for Unprivileged LXC Containers
Security Considerations
Unprivileged LXC containers are designed for enhanced security. By carefully configuring device access, you maintain the security benefits while allowing GPU passthrough.
Resource Management
You can limit the GPU resources available to the container by adjusting the cgroup settings, ensuring fair resource distribution among multiple containers.
Additional Tips
Updating Nvidia Drivers
If you need to update the Nvidia drivers inside your unprivileged LXC container, make sure to synchronize the versions with the host to prevent compatibility issues.
Monitoring GPU Usage
Tools like nvidia-smi can help you monitor GPU usage inside your containers. I often use it to ensure my applications are utilizing the GPU effectively.
Conclusion
Setting up Nvidia GPU passthrough in unprivileged LXC containers and Docker might seem challenging at first, but with the right steps, it’s entirely achievable. I’ve found this setup incredibly useful for my projects, and I hope you will too. Feel free to reach out if you have any questions or run into any issues!


